


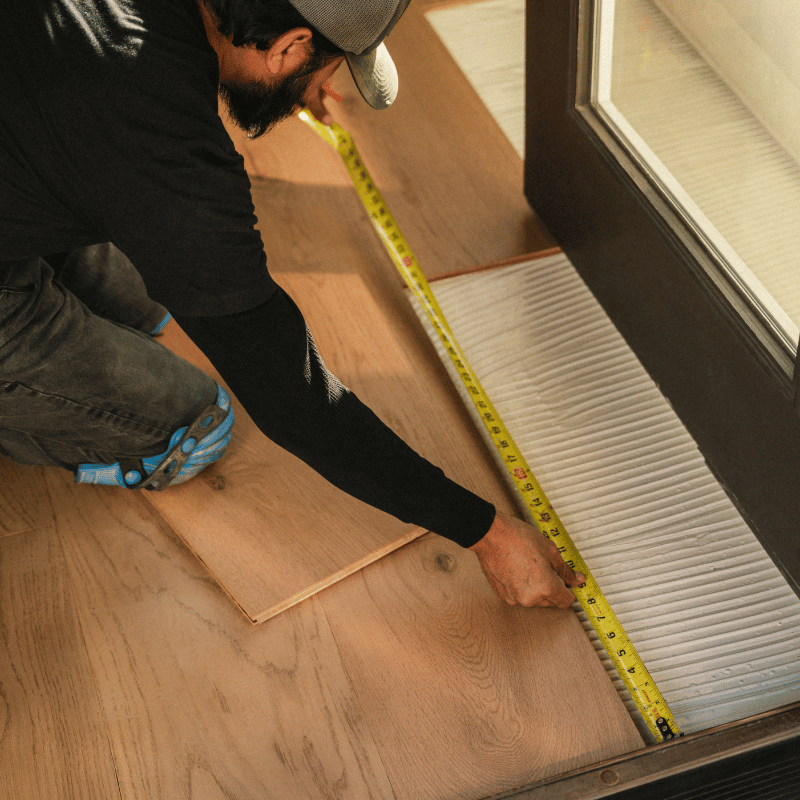
New floors have a way of looking easy on Instagram and terrifying in your own living room. Saws, spacers, words like "subfloor": it's enough to make anyone reach for a quote from a pro.
Here's the good news. Modin luxury vinyl plank was designed for people who have never installed a floor before. The planks snap together; there's no glue or nails, and the underlayment is already attached. The part that takes real care isn't the clicking. It's the prep.
In short: No, installing LVP isn't hard, but it rewards patience. If your subfloor is flat (within 3/16" over 10 feet), you leave a 1/4" gap at the walls and you stagger your seams, most first-timers can lay a room themselves. How long it takes depends on the room, your schedule and your pace. Order samples first, measure carefully, prep well, and the click-lock part is the easy bit.
Start with samples
The biggest DIY mistake happens before you touch a tool: choosing a floor from a screen. Order a few samples, lay them in the room you're redoing, and look at them morning and night. It's also your first chance to feel how the planks click together.
Not sure which Modin line fits your space? Here's how Signature, Base and Craftsman compare, and you can preview any floor in a photo of your own room with Roomvo.

Measure once, order once
Measure each room's length and width, multiply, and add the rooms together. Then add a little extra for cuts and the odd plank you'll want to redo. We walk through the math in 7 Steps to Finding Your Perfect Floors. Short version: add about 8% for cuts and future repairs by simply checking the box when you order.
Two things beginners often miss:
-
Closets and hallways count. If the floor runs through, measure it.
-
Very long runs need a break. If the floor runs more than 100 feet in one direction, plan a T-molding to split it.
The real project is the prep
This is where the "is it hard?" question really gets answered. A well-prepped subfloor makes the planks practically install themselves. A lumpy one makes even a pro's job look rough.
Does my floor need to be flat to install LVP?
Your subfloor can slope gently, but it can't have bumps or dips. Modin LVP needs a flat surface, within 3/16" over 10 feet. Lay a long straightedge across the floor in a few directions and mark anything that rocks or gaps. Sand or grind down high spots, and fill low spots with patching or self-leveling compound.
Underlayment won't hide them. Here's how to check yours.
Can I install LVP over my old floor?
Sometimes. Modin can go over single-layer sheet vinyl or tile (with the grout lines filled flush), as long as it's flat, dry, and firmly stuck down.
It can't go over carpet, cushioned floors or another floating floor, and it's always better to remove the old floor when you can. See what works.
Pulling up carpet?
Start with our carpet removal tips. In an older home, read up on asbestos in old flooring and adhesives before you scrape anything.
Do I need underlayment or a vapor barrier?
Modin already has a pad attached, so you don't add another one (extra foam can stress the click joints). The one thing you do add is a 6-mil plastic vapor barrier over concrete slabs. Here's the full rule.

Let the boxes settle in.
Modin doesn't need traditional acclimation, but leave the cartons flat in the room for 24 to 48 hours, with the room between 65 and 85°F.
Never stand boxes on end: it can damage the click edges. Storage and prep tips.
The tools you actually need
No specialty machines, no flooring nailer. Here's the list from the Modin install guide, plus a couple of extras that make life easier.
|
Tool |
What it's for |
|
Tape measure, T-square, pencil |
Measuring and marking cuts |
|
Straightedge (a long level works) |
Checking subfloor flatness |
|
Miter saw |
Clean crosscuts at the end of each row |
|
Table saw (or circular saw) |
Cutting planks lengthwise for the last row |
|
1/4" spacers |
Holding the expansion gap at every wall |
|
Tapping block and heavy mallet |
Closing end joints without damaging edges |
|
Pull bar |
Locking the last plank against a wall |
|
6 mil poly sheeting and tape |
Only over concrete slabs |
|
Knee pads |
Not in the guide. Your knees will thank you anyway. |
How click-lock actually works
Think of it as a very large, very satisfying puzzle. Every plank has a tongue on one side and a groove on the other.
-
Plan your layout. Run planks along the longest wall. Measure the room in plank widths: if the last row would be thinner than half a plank, trim the first row so both edges look even.
-
Dry-lay a few rows. Open several boxes and mix planks, so color variation looks natural instead of patchy.
-
Set your spacers. 1/4" at every wall, door frame and fixed object.
-
Click the long side. Hold the new plank at a slight angle, slide its tongue into the groove, and lower it flat. It should drop in without forcing.
-
Close the short end. Tap it closed with a tapping block and mallet, never hitting the plank directly.
-
Stagger the seams. Keep end joints at least 8" apart from row to row, and avoid lining them up every other row (the dreaded "H" pattern). Start each new row with the offcut from the last one.
-
Undercut the door jambs. Trim the bottom of door frames so the plank slides underneath, instead of cutting the plank around them.
-
Finish the last row. Rip planks to width and use the pull bar to lock them against the wall.

See it in action: Joe from So That's How You Do That! puts Modin through its paces, including the locking system and cutting.
For underlayment, vapor barrier, and subfloor prep, follow the Modin installation guide: no extra underlayment and a 6 mil vapor barrier over concrete.
The mistakes that make it hard
Almost every "my floor is separating" or "my floor clicks when I walk" story comes back to one of these. Avoid them and you've done the hard part.
|
Common problems |
What's usually going on |
How to avoid it |
|
"Why is my LVP floor not flat?" / "Why does my vinyl floor feel bouncy or soft?" |
The subfloor has dips or high spots, or extra soft underlayment was added under a floor that already has a pad |
Straightedge test first, then sand high spots and patch low ones. Use Modin's attached pad only |
|
"Why does my vinyl plank floor click or crackle when I walk on it?" |
Planks are bridging a low spot or sitting on debris, or a joint isn't fully locked |
Sweep the subfloor clean, fix flatness, and tap every joint closed |
|
"Why is my vinyl plank flooring separating?" / "Why are there gaps between my planks?" |
End joints weren't fully engaged, a locking edge got chipped, or seams weren't staggered |
Tap end joints closed with a tapping block, keep seams 8" apart, and check edges before you click |
|
"Why is my LVP buckling or peaking at the seams?" |
The floor is pinned: no expansion gap, trim nailed through the planks, or cabinets and islands sitting on top |
Leave 1/4" at every wall, nail trim to the wall, and floor around cabinets, not under them |
|
"Why is my LVP lifting near the doorway?" |
No gap at transitions, door frames or sliding door tracks, or a very long run with no break |
Undercut door jambs, keep the gap at every fixed edge, and add a T-molding on runs over 100 ft |
|
"Why won't my vinyl planks click together?" |
Debris in the groove, edges damaged by storing boxes on end, or planks forced in flat instead of angled |
Store cartons flat, keep grooves clean, keep the room at 65 to 85°F, and use the angle-and-drop method |
|
"Why does my vinyl floor look fake?" |
Planks from one box laid side by side, or end joints lined up in an "H" pattern |
Mix planks from several boxes, dry-lay first, and stagger end joints |
Recommended Read: 5 Things to Always Do When DIY-ing Your Floors (and One Not To)
Finish strong with trim and transitions
Trim is what turns "I installed a floor" into "wait, you did this yourself?" It also hides your expansion gap.
-
Quarter round covers the gap where you're keeping your baseboards.
-
T-molding bridges two floors at the same height, like a doorway.
-
Reducer steps down to a lower floor.
-
End cap finishes edges where baseboard can't go, like sliding doors and hearths.
Every Modin color has matching trim, so you don't have to hunt for a close-enough stain. Doing stairs too? Here are your Modin LVP stair options.

Quick answers for first-timers
Can one person install LVP flooring?
Yes. Click-lock planks are light and you lock them in one at a time. A helper speeds up long rows and moving boxes, but it isn't required.
How long does it take to install LVP Flooring?
It always depends on the size of the room, how much time you have and the pace you work at.
Prep can take as long as the install itself, and bigger, open spaces take longer than a single bedroom. Give yourself room in the schedule, and don't plan to finish the night before guests arrive.
Does vinyl plank flooring need an expansion gap?
Yes. Leave 1/4" at every wall and fixed object, then cover it with baseboard or quarter round.
How do you install vinyl plank flooring under a door frame?
Undercut the door jamb, using a scrap plank as a height guide, and slide the plank underneath. Keep the 1/4" gap there too.
Can I install LVP in a bathroom?
Yes, Modin LVP is 100% waterproof. Caulk where the floor meets the tub, toilet and sink. It isn't for inside showers.
Why are my vinyl planks separating or clicking?
Usually the subfloor isn't flat, a joint wasn't fully locked, or the floor is pinned by trim, cabinets or a missing expansion gap. Call us and we'll help you figure out which.
You don't have to do it alone
The best part of DIY with Flooret is that you're never really on your own.
-
Questions mid-project? Call or text 1-800-700-8122, or email support@flooret.com. Our team will get back to you shortly.
-
Need inspiration? See how first-timers did it: Breanna, Erica, Shahab and Suzy.
-
Want help pulling the whole look together? Order a sample, then book a free session with our design consultant, Ashley Tweten.
So, is it Hard to install LVP Flooring Yourself?
It's a project, not a mystery. Flat subfloor, 1/4" gap, staggered seams, and a little patience. Do those, and the floor that looked too hard to do yourself becomes the floor you'll point at every time someone comes over.


